Setting up a PCR lab from scratch
Written by Stephanie Stursberg
29. May 2024
The polymerase chain reaction (PCR) is a vital step in many molecular biology workflows, allowing researchers to amplify specific DNA sequences. To avoid contamination during this sensitive assay, it's essential to set up a well-organized lab. This article explains how pre-PCR activities and amplification and analysis steps can be separated from one another, and lists essential equipment considerations and contamination control measures. Whether you're setting up a new lab or refining your current one, this resource will enable you to create an efficient environment that ensures your molecular biology projects run smoothly.
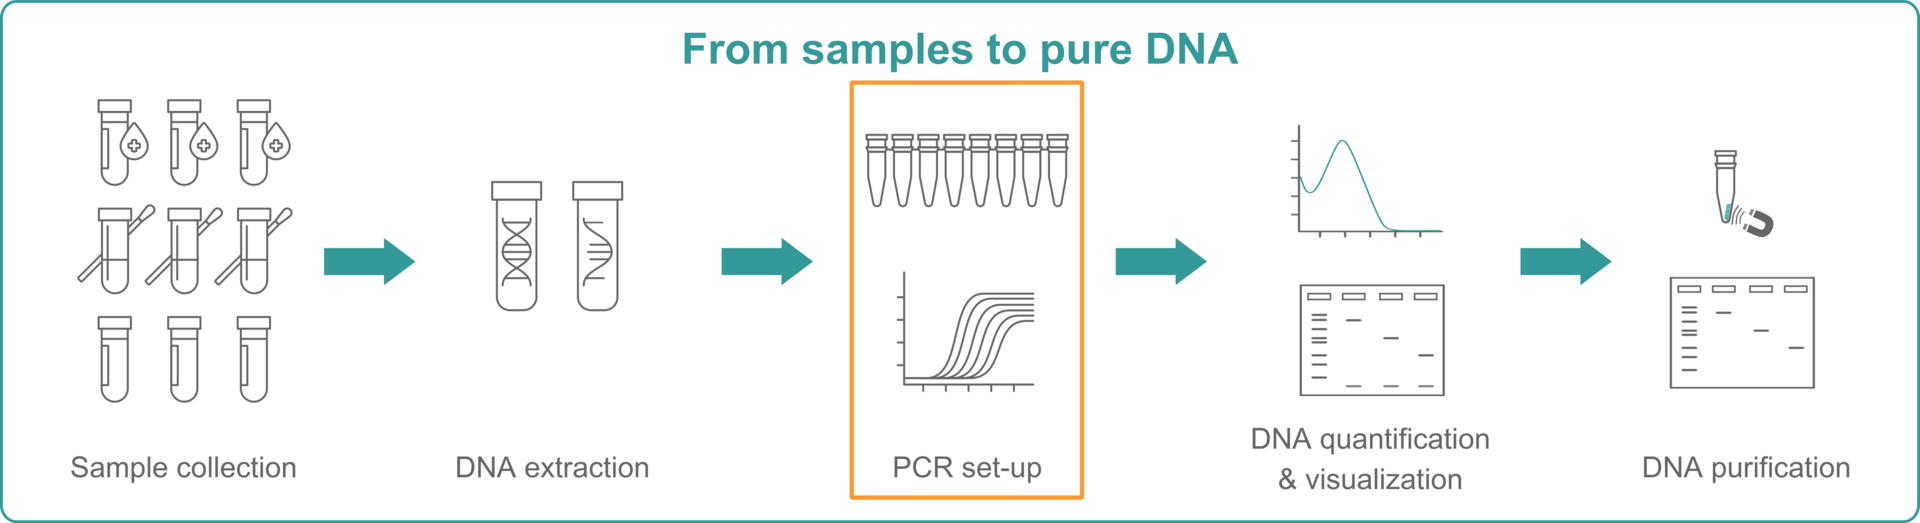
This blog is part of a series of 5 articles on how to get from samples to pure DNA.
Table of contents
Designing your PCR lab
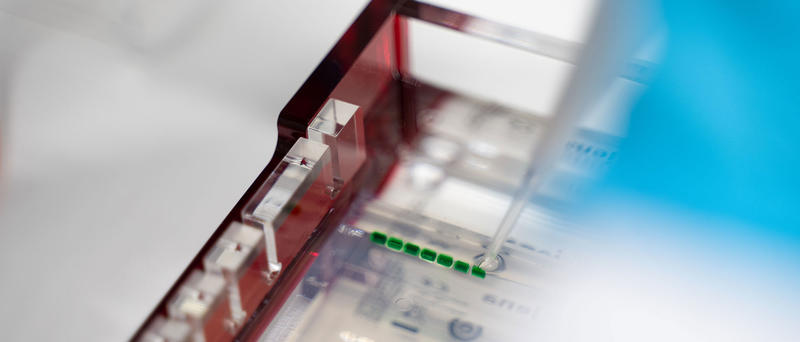
PCR is very sensitive and creates a large number of copies of DNA fragments from minute amounts of starting material. This makes it a fundamental and highly effective molecular biology technique. However, because it is prone to amplicon and sample contamination, planning and designing your PCR lab space will need careful consideration.
Ideally, a PCR lab should have 2 rooms with 2 areas, each designed for specific tasks. The first room should be exclusively used for pre-PCR activities and divided into a master mix preparation area and a sample preparation area. Air pressure should be slightly positive to prevent aerosols from flowing in.
The second room should have a dedicated area for DNA amplification, and another one for product analysis. Air pressure should be slightly negative to ensure that amplicon aerosols don't leave the room.
If you're lacking in space or budget for a 2-room PCR lab, you can set up the pre-PCR and amplification and analysis areas in the same room, but ensure they are as far from one another as possible.
Having pre-PCR activities spatially separated from the amplification and analysis area – either in different rooms or on separate benches – is very important, because you usually have a low amount of DNA during preparation and a very high concentration after amplification. This means that if you analyze your PCR in the same space as you prepare your master mix and samples, you may get false-positive results due to amplicon contamination.
You should also ensure that your lab set-up follows a unidirectional workflow. No materials or reagents used in the amplification and analysis areas should ever be taken into the pre-PCR space without a thorough decontamination. This means that you'll need dedicated equipment for each area, e.g. 2 different sets of pipettes. This unidirectional workflow should also apply to lab staff. If you've been working in the amplification and analysis areas and you need to go back to the pre-PCR area, change your personal protective equipment, as it may have been contaminated by amplicon aerosols.
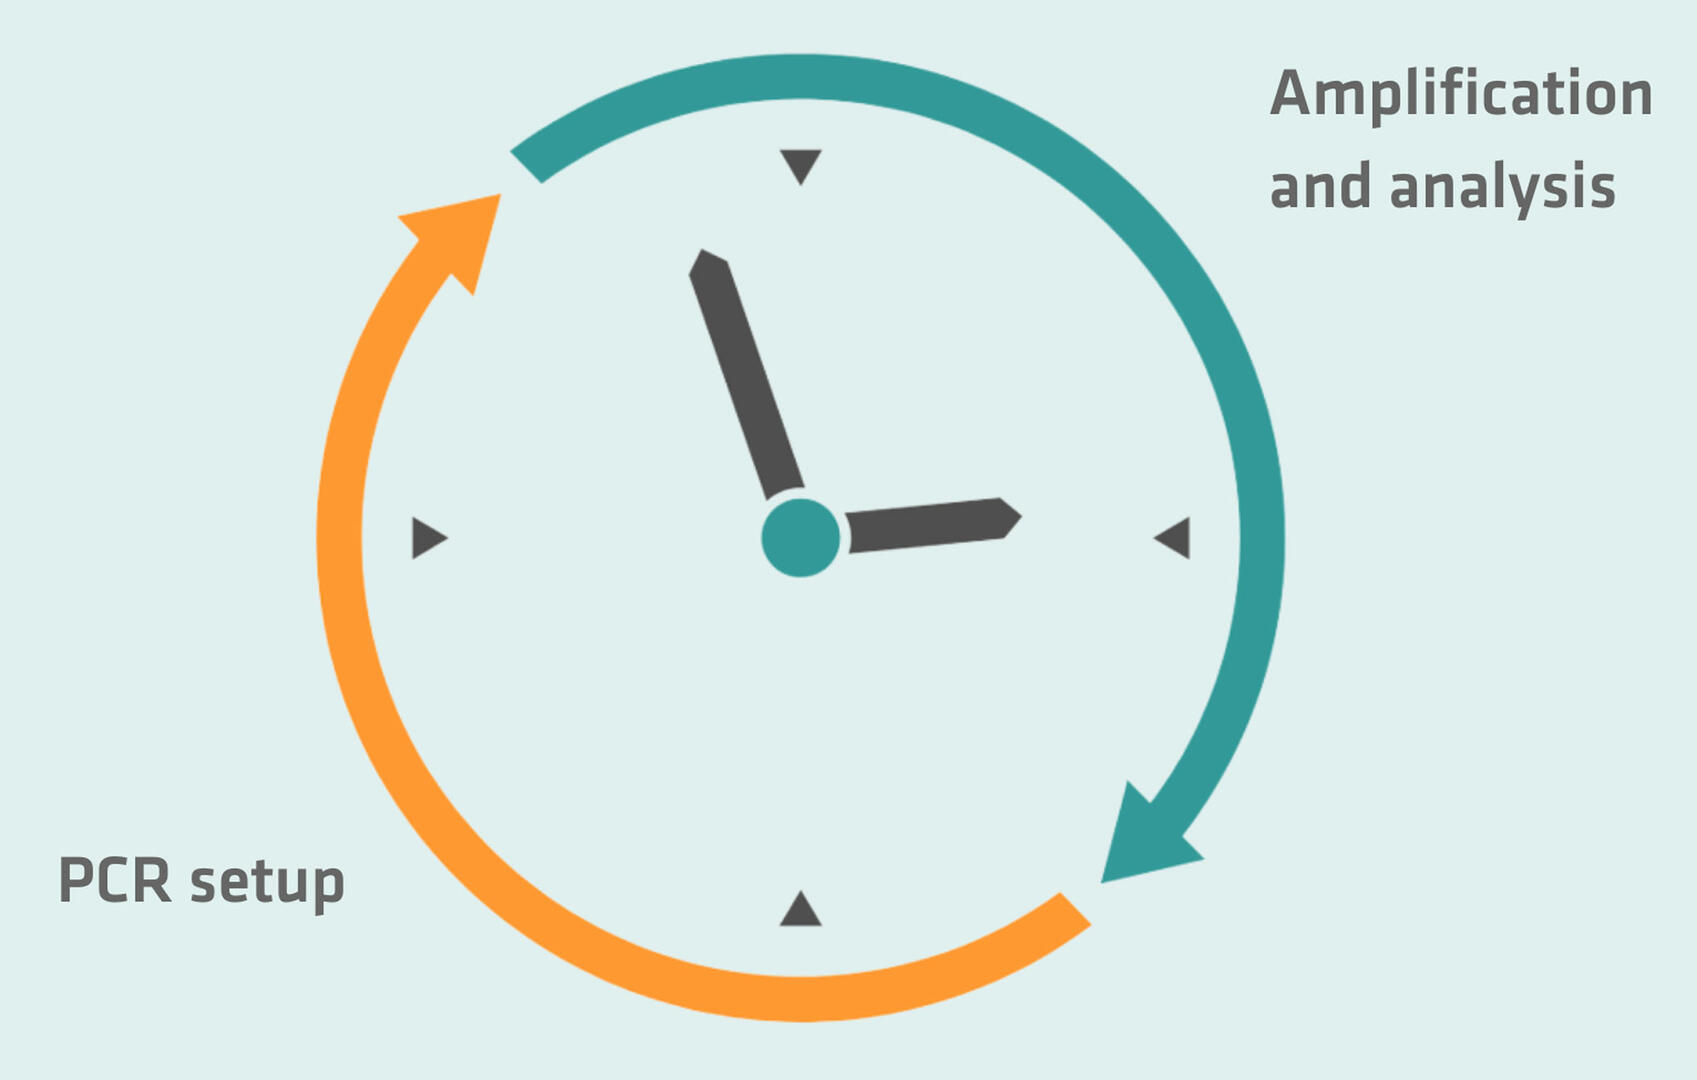
Another precautionary measure to take into account when setting up your PCR lab, in addition to the spatial separation, is temporal separation. You could, for example, consider setting up your PCR reactions in the morning, and performing the amplification and analysis steps in the afternoon. This may limit your flexibility, but will prevent contamination issues and having to repeat your experiment.
PCR equipment tips
PCR labs typically require a variety of equipment, such as centrifuges, vortex mixers, pipettes, fridges and freezers, thermal cyclers and analysis instruments, such as electrophoresis systems. Depending on the size of your lab and your applications, the amount of equipment you’ll need may vary. Instead of providing a 'shopping list' here, we will outline what you should look for when purchasing equipment and consumables in order to keep contamination of your PCR reactions to a minimum.
Laminar flow or biosafety cabinet
Since you can never be 100 percent certain that there are no amplicon aerosols in your pre-PCR space, you should set up your PCR reactions in a laminar flow hood or biosafety cabinet, decontaminated with a bleach solution prior to starting and after you finish your work.
Pipette tips and other consumables
Despite being more expensive than normal pipette tips, using filter tips for your PCR set-up will avoid aerosols entering and contaminating your pipette, and avoid aerosols that might already be present in your pipette contaminating your master mix or samples. To minimize your filter tip consumption, first fill all your tubes with the master mix using only 1 tip or set of tips – if you're using multichannel pipettes – and follow with your samples, using 1 tip per sample. Adding the sample last is also recommended because it's easier to dispense it into a liquid than into an empty tube, and because it reduces the risk of aerosolizing your sample as you pipette. Learn the best pipetting practices to help prevent aerosol formation.
For consumables, you should make sure that you have enough small vials available in your lab when your PCR reagents arrive. Aliquoting them into smaller containers will increase their shelf life and prevent them from going through too many freeze/thaw rounds. If your reagents get contaminated, it will also save you from throwing away your entire supply, as you’ll have clean aliquots available for a second PCR.
Finally, you’ll need to make sure that all consumables and equipment are free of DNase, RNase and PCR inhibitors. Always choose sterile products from manufacturers that can certify that their tips and consumables are free of any of these potential contaminants.

Cleaning and contamination control
You won’t need to worry about cleaning or contamination control when setting up your lab, but you will when your lab is up and running. We will briefly address this topic below.
Whether you decide to set up your PCR reactions in a laminar flow hood, a biosafety cabinet or an open bench, you will need to decontaminate your work space before and after set-up by wiping it with a freshly made bleach solution and distilled water. The same process should be performed in the amplification and analysis areas. You should also make sure you clean your pipettes, equipment, doorknobs and the handles of your fridges and freezers regularly.
Because PCR assays are so sensitive, all the preventative measures described here may still not guarantee that your experiments will never get contaminated. It is therefore necessary to include the appropriate controls to detect contamination early. Always include negative and positive controls – as this will help to identify master mix contamination – and confirm the performance of the extraction protocol, reagents and amplification steps. Additionally, you should monitor the positivity rate in your lab, and ensure that unexpected increases in detection have identifiable causes, e.g. a seasonal outbreak.
Conclusions
We hope that this blog has helped you in the process of setting up or refining your PCR lab. If you're curious as to what you'll need for subsequent workflows to determine the concentration and purity of your PCR products, read our article about DNA quantification.
Further reading: