An easy guide to efficient sample collection, labeling and storage
Written by Éva Mészáros
21. September 2021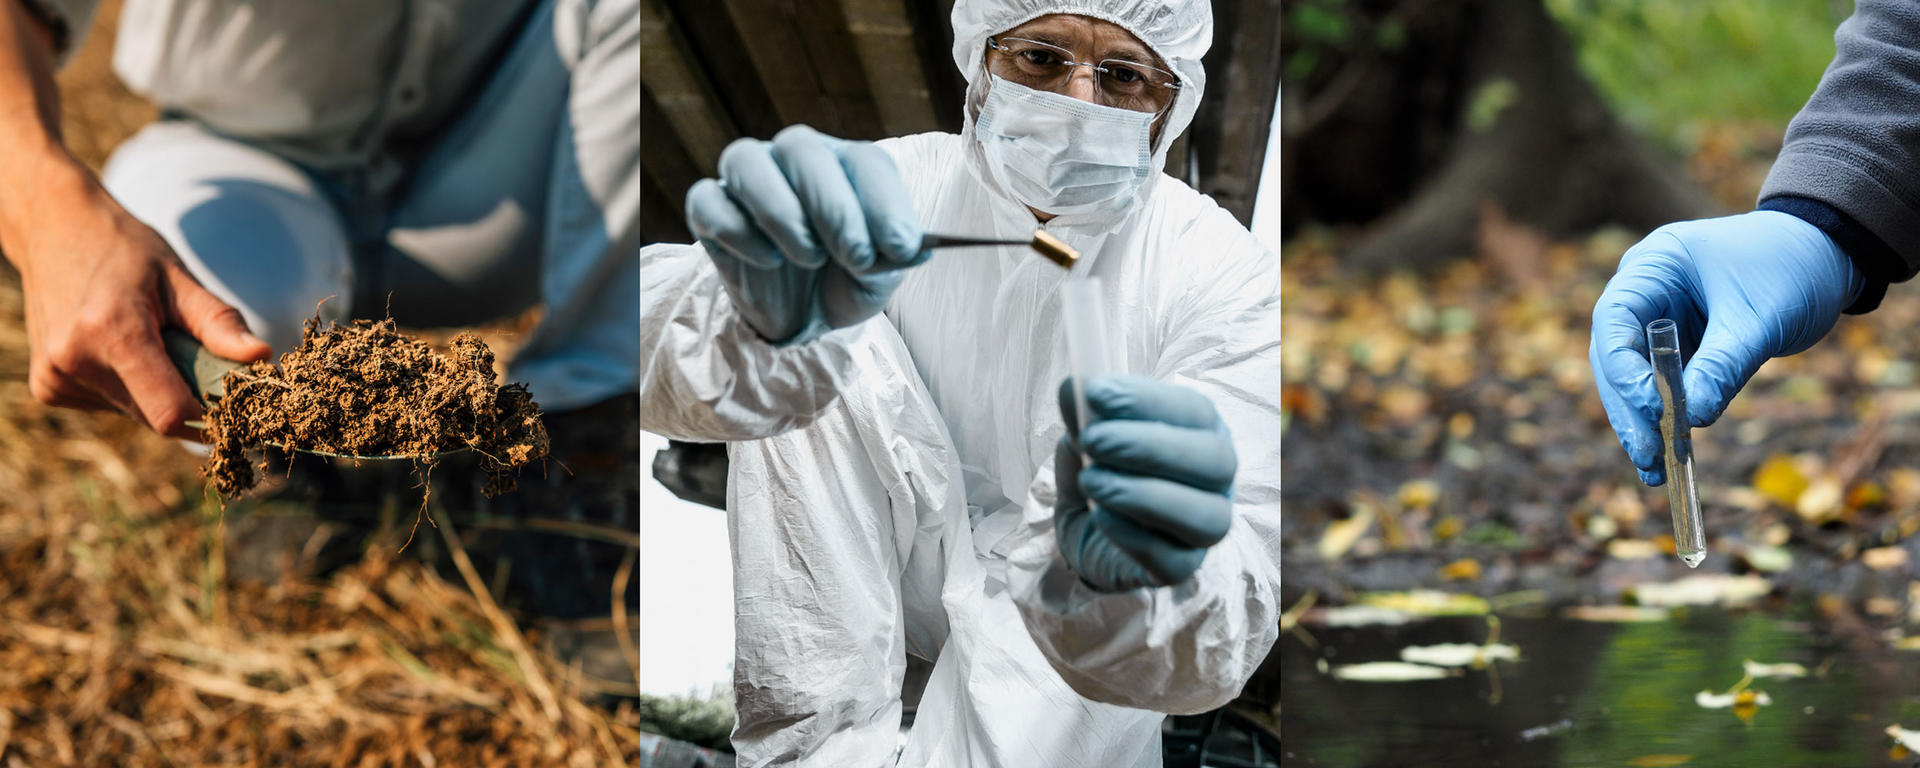
Sample collection is performed in many different fields – from clinical diagnostics and forensics to food quality control, environmental studies and even astronomy – making it difficult to give general recommendations. Yet, there are a few universal guidelines regarding aseptic techniques, labeling and storage that everyone should follow. We're going to highlight them in this blog post, the first part of a series of 5, on how to get from samples to pure DNA.
Table of contents

Aseptic sample collection
If your samples are contaminated during sample collection, subsequent workflows, such as DNA extraction or polymerase chain reaction (PCR), will be in vain and, in the worst case, could lead to the wrong conclusions. It is therefore of the utmost importance to apply the following aseptic techniques when collecting samples.
- Wear appropriate PPE
Personal protective equipment (PPE) is needed not only to prevent contamination of samples, but also to avoid exposing yourself to contaminants. Depending on the type of sample to be collected, PPE may include a lab coat, gloves, a facemask, goggles and/or a hairnet. - Disinfect your work zone
If you have a work zone such as a table available during sample collection, you need to disinfect it – e.g. with 70 percent ethanol or with a bleach solution – before taking the first sample. - Select the right equipment
The wide variety of sampling tools and containers on the market guarantees that there's a solution for every sample type and need. Typical sampling tools include swabs, gauze wipes, sponge sticks and spoons. Commonly used containers are tubes – sometimes pre-filled with transport medium – bags, jars and bottles. When choosing a suitable container, make sure that it can hold the desired sample volume, since overfilled containers increase the risk of spills and leaks. In terms of material, plastic is usually preferred over glass because it's lighter and shatterproof. - Use sterile equipment
Another important aspect of aseptic sample collection is that your sampling equipment is sterile. Purchase either single use equipment certified to be sterile or reusable equipment that you can sterilize before each use. Reusable sampling equipment can be autoclaved or, in the case of metal equipment, immersed in 70 percent ethanol and flamed with a Bunsen burner. - Don't touch your samples
Your samples should only come into contact with the sampling tool and the container. If you have to touch the sample, wear sterile gloves. - Avoid unnecessary contact between sample, sampling tool and container
Avoid touching the lip or lid of sterile containers with your samples and sampling tools. Furthermore, the sampling tools shouldn't come into contact with the interior of the container. - Work quickly
Reduce exposure of your sample and equipment to the environment by working quickly and only opening sterile containers briefly to introduce the sample. - Open and close sterile containers correctly
Containers with lids: Remove the lid with a free hand and keep it in that hand during sample collection. If you put it down, it could get contaminated by the environment. When replacing the lid on the container, don't touch the inside of the lid or the lip of the container with your hand.
Zip lock bags: You have to touch the opening of a zip lock bag when pulling the seal open. Therefore, you have to take care that you do not touch the area above the seal with your sampling tool – e.g. your spoon – when putting the sample inside. To close a zip lock bag, simply seal it with your fingers and ensure that you disinfect your work zone first if you need to lay it down for this step.
Wire closure bags: In contrast to zip lock bags, wire closure bags can be used without touching their opening. Simply tear off the seal and open the bag using the tabs. To close it after sample collection, pull the wire closures tight, roll the top of the bag at least 3 times and bend the wire closure ends into the center. Fold them twice to prevent the wires from puncturing the bag and causing the sample to leak. If you need to lay your bag on the work zone to close it, you should first disinfect the area with ethanol to prevent contamination of the opening.
Correct sample labeling
Errors in sample labeling can have severe consequences, such as an incorrect diagnosis for a patient or the closure of the wrong food factory for hygiene reasons. It's therefore key that the correct sample collection information can be matched to the right sample throughout all stages of transport, storage, and analysis.
The information recorded in sampling datasheets depends on several factors and generally includes:
- Sample name (try to keep it short and simple and don't use abbreviations that only you will understand)
- Type and/or source of the sample
- Date and time of collection
- Place of collection
- Name or initials of the person who took the sample
- Storage requirements
Labels allowing lab staff to assign each sample to the correct datasheet should be placed on the sampling container. You can either write them by hand or use printed labels, barcodes or QR codes. Sometimes, a marker is used to directly label the sampling container.

Regardless of which solution you choose, make sure your label doesn't peel off during transport, storage and analysis. Confirm that the ink of your marker, the label itself and its adhesive are suitable for the experimental conditions. For example, you may need a special ink formula to label tubes that will be exposed to alcohol, or freezer-safe labels for tubes that will be stored at temperatures of -20 °C and below.
Printed labels, barcodes and QR codes have several advantages over handwritten labels. First of all, a colleague's handwriting may be illegible to you and vice versa. And even if you all have excellent handwriting, you can't guarantee that you won't make mistakes when manually copying labeling information. Printed labels not only help you avoid human error and illegibility, but they can also be used to label tiny containers without using acronyms that are difficult to understand. Barcodes, and especially QR codes, that can be placed on the smallest microcentrifuge tube are particularly useful for this purpose. On top of that, they improve sample tracking in high throughput labs by digitizing the task, and can be read by automated systems.
Sample storage in the lab
Read on if you not only collect samples in the field but are also involved in sample analysis in the lab. As soon as samples arrive at your lab, they should be checked. Depending on the sample type and subsequent testing methods, several factors need to be checked, such as:
- Is the sample quantity sufficient?
- Is the sample in good condition and appropriate for the test requested?
- Has it been transported at the correct temperature?
- Is the sample container damaged?
- Is the sample leaking?
- Is the sample correctly labeled?
- Are all the samples listed on the datasheet present?
Please note that the packaging of your samples may be contaminated. Handle and dispose of it accordingly.
After an initial check, samples should be immediately tested or, if this is not possible, stored under suitable conditions. The storage conditions depend on the sample type and need to be defined, validated and recorded. Biological samples can usually be stored at -20 °C for short-term storage, at -80 °C for long-term storage, and at -150 °C in the vapor phase of liquid nitrogen for strain collection.1

Some samples may need to be aliquoted prior to storage, for example, if the sample is precious or if you're planning to run multiple tests on it and want to avoid repeated freeze/thaw rounds. Check out our application note on how to automate sample aliquoting to learn more.
Conclusion
By following the tips above, you will avoid contamination and labeling errors during sample collection, and in addition, you will always know how to properly store samples when you cannot analyze them immediately.
If the subsequent step in your workflow is DNA extraction, read our next blog post in the series entitled 'From samples to pure DNA' to learn more about the different extraction methods and the corresponding equipment.